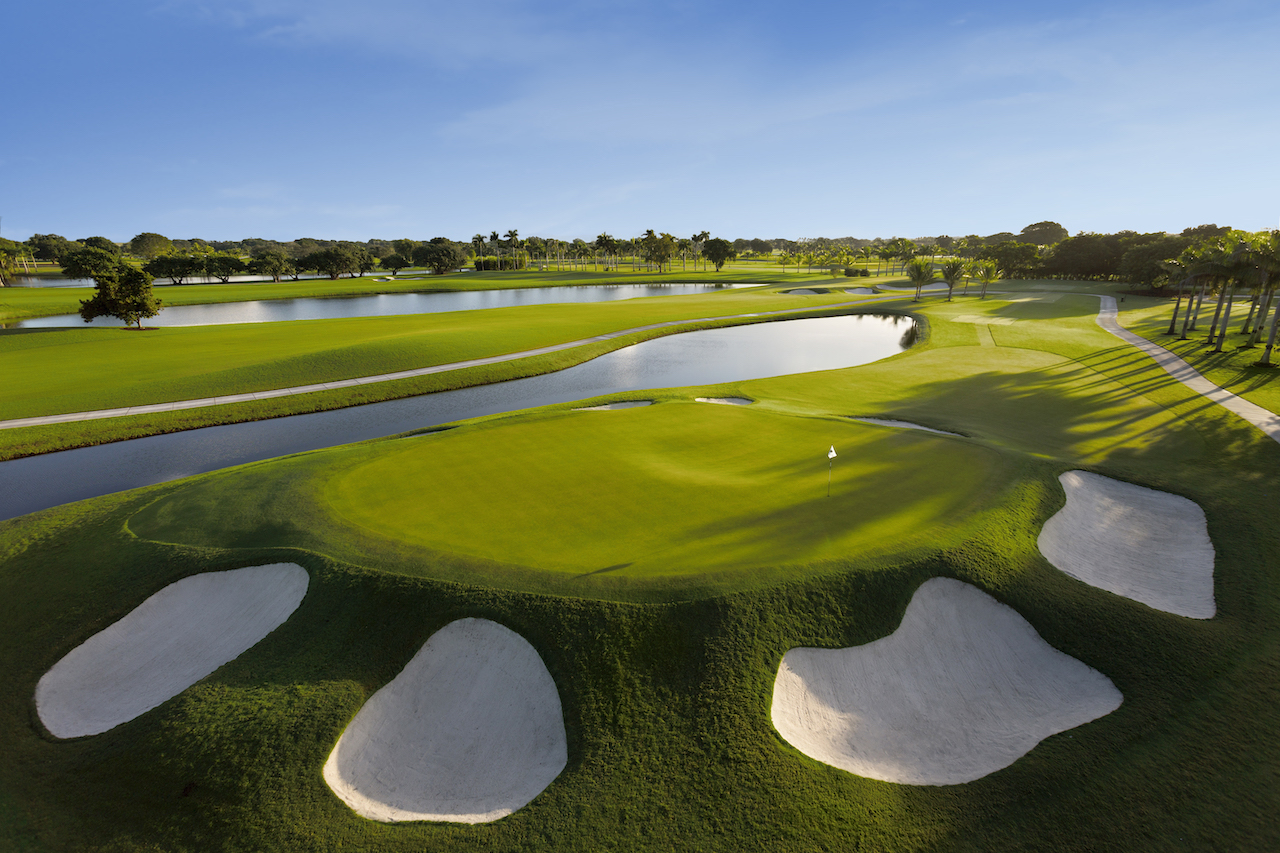
What goes into building a bunker on a golf course, like the Blue Monster at Trump National Doral, or Trump International Golf Club, Dubai? We follow a 4 step process that involves a lot of machinery,a little bit of music, a number of talented people, a theory of ever decreasing implements, and a desire to build something artistic and playable. Let’s take a look!
1. The first step is where I get the ball rolling with a bulldozer digging a hole in the ground and establishing the shape, scale, and depth of the bunker with a large piece of machinery. While shaping golf course features, I love to listen to music, mostly Dave Matthews and the Grateful Dead, so pretty mellow.
However, sometimes Rage Against the Machine or The Clash might slip into the playlist—a little more intense—and the bunker could get a little deeper!
2. After I finish with the dozer, our next cast of shapers gets into the bunker with an excavator and starts the real artistry of putting in the smaller shapes and more natural features that relate to the smaller scale of the machine they are running. Bunkers are a reflection of the earliest sandy landscapes upon which golf was played, and areas where the wind, water, and animals would expose the sand, and it would form hazards. Our team always has this natural, eroded, landscape in the back of their minds when they start shaping the bunkers.
The most recent Trump course I designed is Trump International Golf Club, Dubai, where our inspiration for the bunker forms was found from the natural contours of the desert land. We noticed the way the wind sculpted the sand into these broad ridges with sharp edges and waves of sand, so followed this natural aesthetic. We also planted numerous varieties of native grasses on the faces and in the floors to replicate what nature might do with our bunkers if left to their own devices.
3. With the bunkers “roughed in,” now comes all of the practical components that may be necessary in certain landscapes and climates, drainage, liners and irrigation. This is always the hardest part to watch as the installation of all of these components that make the bunkers “work” often involves the destruction of some of the features that have been shaped. However, we always know that we can put it back, and sometimes it even turns out better after the destruction.
4. The final step is where we get into the theory of ever decreasing implements. The final forms and shapes are created by hand with shovels and rakes, adding that final patina to the work that makes it look as natural as we can make it look. Depending on the climate and the type of grass that is used, the final prep is concluded by sodding, seeding, or sprigging the bunkers and installing the sand.